Inputting hotel information into Canapii for virtual & in-person events.
To input hotels into the console:
1. Within General Settings of your event Console, firstly ensure that the event mode is set to in-person.
To check or amend this, go into Details and here you can toggle between In-Person & Virtual. Select In-person.
2. To enable the Hotels feature, go in to Features & Networking under General Settings. On the list until find Hotels & Enable accordingly. Once enabled, you'll see it illuminated within the Onsite tab.
3. Select the Hotels tab, click Create and then Add Hotel. Input the hotel name and save.
You can also enable "Allow users to update bookings on the platform" which allows users to update their hotel details on their profiles.
4. Now that you've set the hotel name, now you're required to add rooms. On the Rooms tab, click on Create. Input the room name and display name.
5. Once you've added the room, you'll need to add the availability (dates). Click on Add availability. Input the available from and to dates, the rate, the number of rooms, & amend the currency.
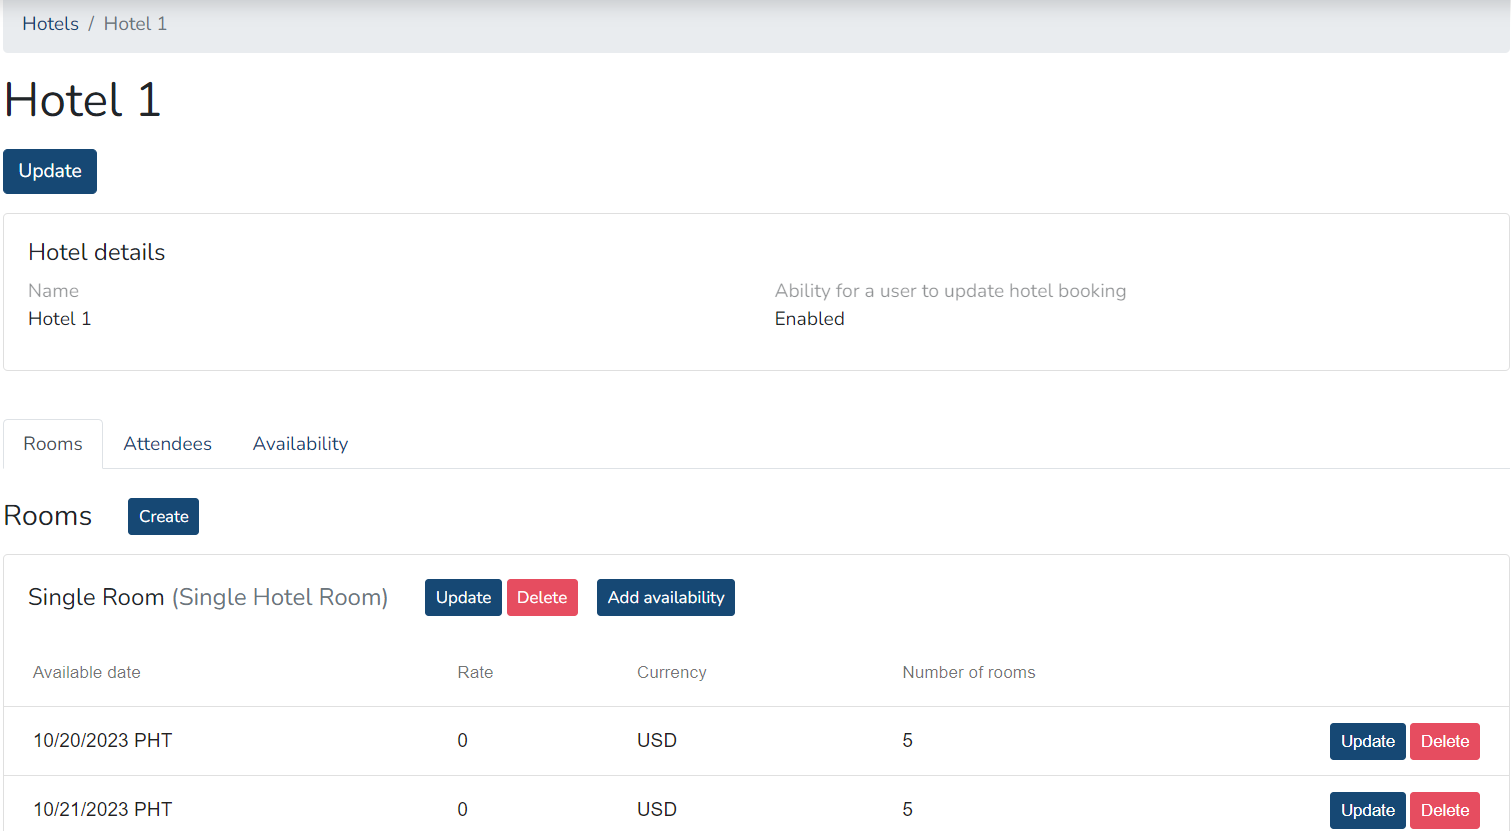
6. Next to the Rooms tab, you'll find the Attendees tab. Within this area, you'll find a list of attendees which have booked into the hotel and additional information will be presented such as the room type and the duration of their stay.

If you wish to add attendee's to the booking you can select add attendee.
Upon selecting add attendee select the room, target the room to either a specific attendee or target it to attendees based on their attributes i.e. attendee type, company, job title.
Input any hotel remarks or update the status to either pending or approved & lastly, input the check-in & check-out information.
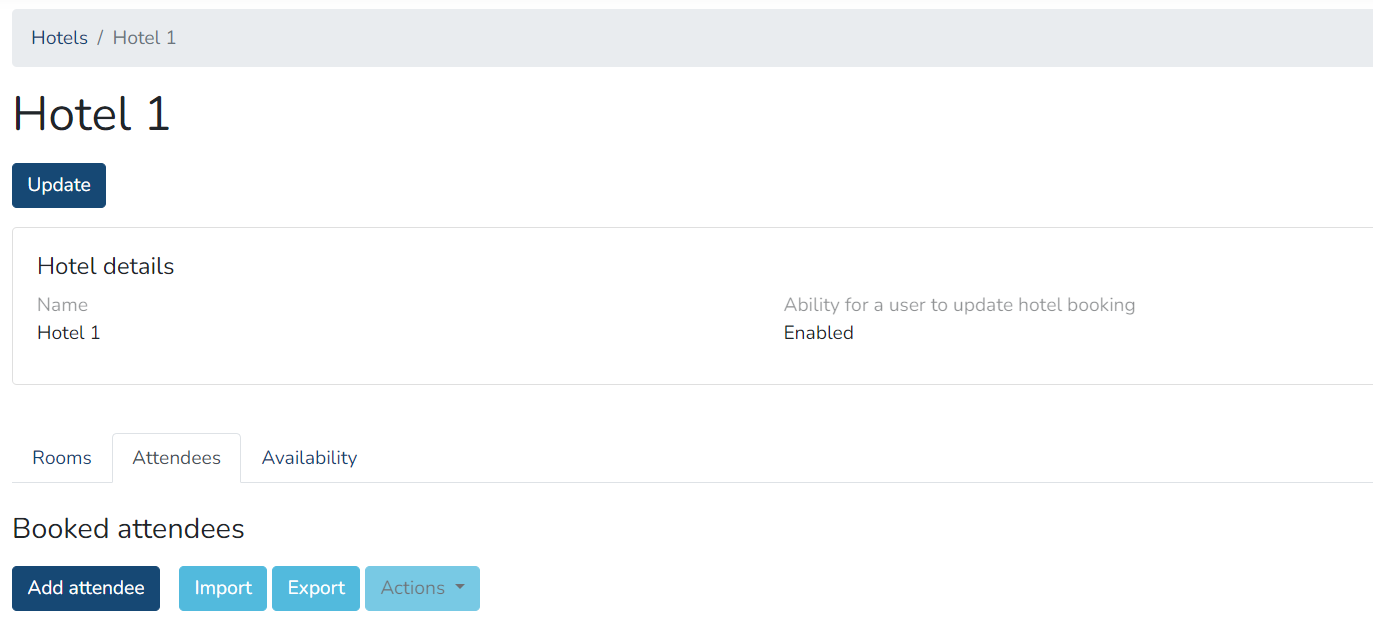
For bulk adding of booked attendees, you may also use the Import button.
An Export is also available if you wish to download the booked attendees for the hotel.
Note: Users may also select multiple attendees by clicking the checkbox beside the name and click on Actions to either change the status, check-in or check-out information.
7. Availability: You'll also find an availability tab which provides detail around the number of rooms booked and which rooms are still available on certain dates. The color coding provides further information around whether the rooms are fully booked, whether there is limited availability or plenty of availability left for your attendees.
How to enable users to update their hotel information from the platform
When creating a hotel, you can enable a toggle which allows users to update their hotel details from the platform!

When "Ability to update bookings on platform" is enabled rom the event users can update this information by selecting the icon which features their initials (in the right hand corner of the screen).
Select Profile and here they'll find Hotel details.

How to import hotel bookings of attendees
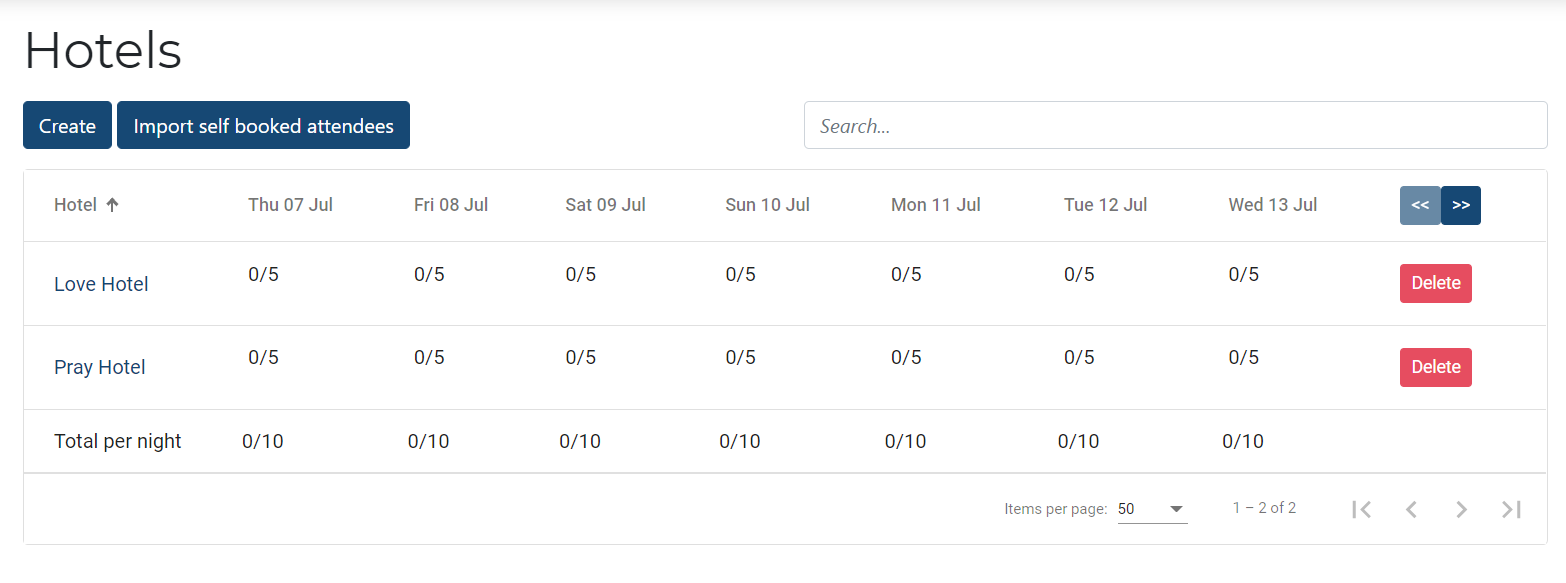
In the instance that you do not have the hotel details yet or have attendees who have self booked, you are able to import the hotel details of your attendees at the Hotel tab.
Simply click on Import self booked attendees and you will be able to upload a csv file of the hotel bookings of your attendees.
You can also import attendees by selecting the hotel, then clicking on Attendees.
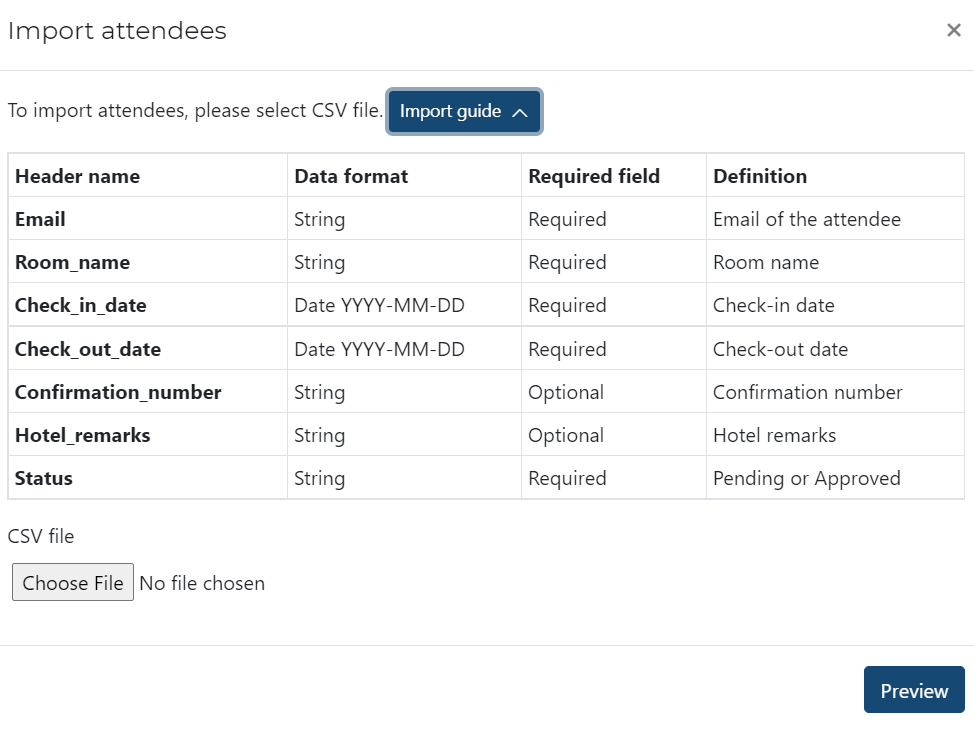
To import self booked attendees, you may refer to the import guide below:
How to set selection of Hotels on Registration
If you will be add a selection of hotel rooms during ticket purchase or registration, you may now link the hotels to the ticket. To do this follow the steps below:
- Select the ticket.
- Under the Basic Attribute section of the ticket, set the Hotel attribute to Enabled.


- Then on the Hotels tab, click on Add room.
- Select the hotel and room. Note that you can select multiple rooms. The rooms selected here are the hotel and room options your attendees will see during registration.

- Once added, you may then input or edit the price by clicking on this button.


- Select the check button ✔️ to save the price change.

Now you're finished setting up your the hotel option for Registration!
Here's how this example question will look to your registrants:


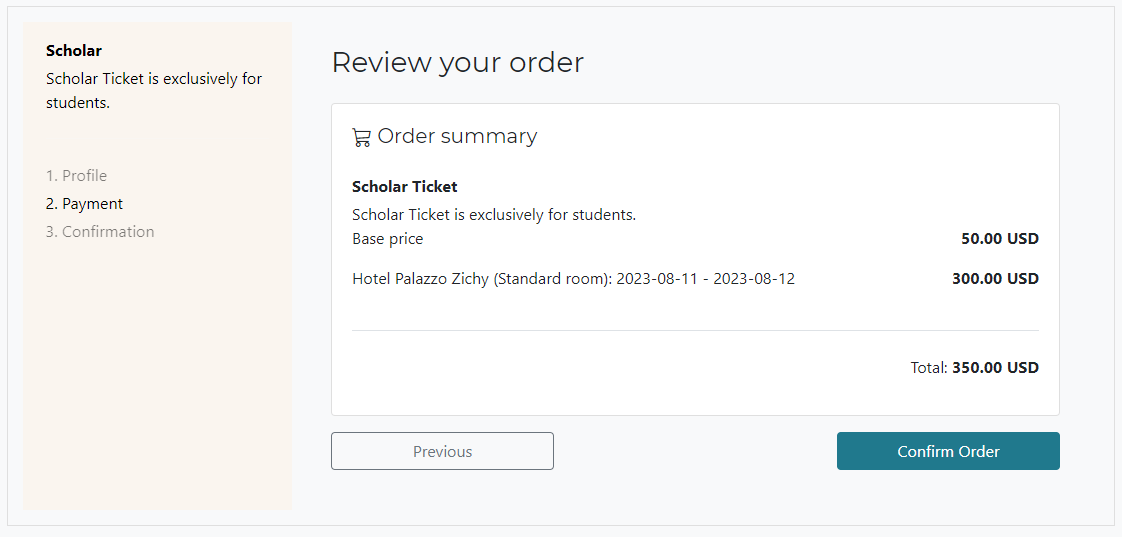
When they've chosen to add a hotel room to their purchase, their checkout screen will also reflect the new price:
And once they've completed their order, the hotel room details will be automatically added to their attendee profile in the Console as well.

