How to input event location details into Canapii for in-person events.
Creating locations
Within General Settings of your event Console, ensure that the event mode is set to In-person
To check or amend this, go into Details and here you can toggle between In-person & Virtual. Upon selecting In-person, the relevant in-person features will appear unde the Onsite section in the console side bar.
In the Locations tab, you are able to create locations for Meetings, Sessions and Sponsor meetings.
1. Upon creating a location, you'll be required to firstly add the location name for where the in-person location will be:

Select whether the usage is either a Meeting, Session or Sponsor Meetings.
Meeting locations
Enter the Meeting Capacity which is number of simultaneous meetings allowed in the location and well as the Location Capacity where in the maximum number of meeting attendees per location is based on the limit you have set under the global attendee limit under the Meeting settings (default maximum is 100).
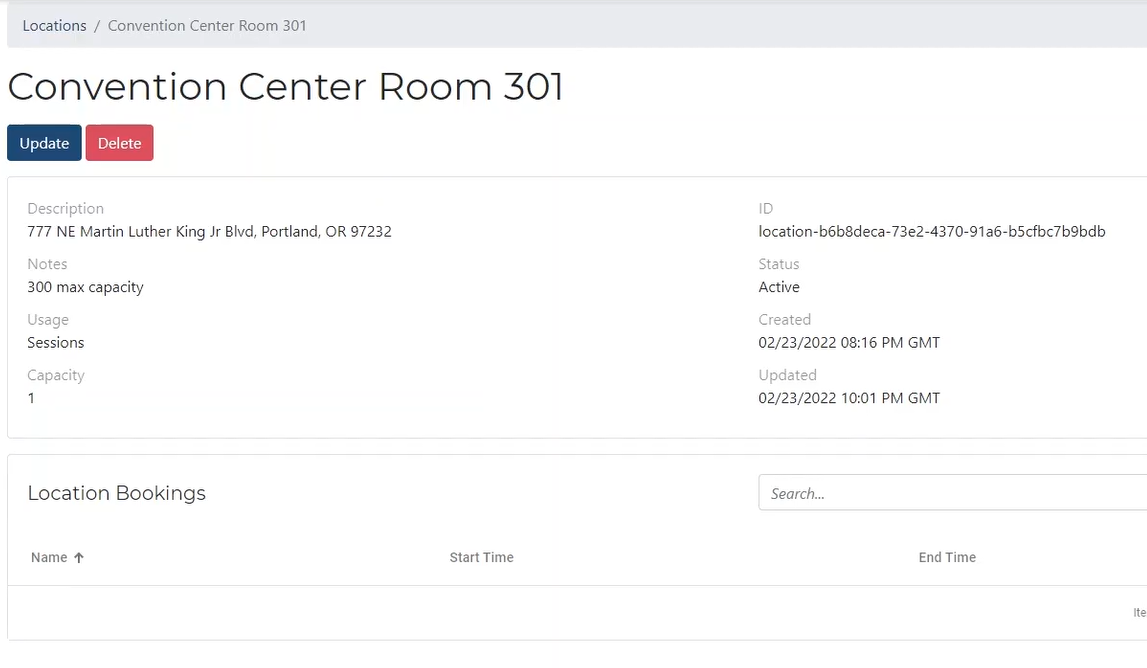
Input a Description i.e. Address of the location.
Ensure to include any Notes which will be beneficial for other organizers to know i.e. Maximum capacity.
2. Once the Location has been set up, organizers are able to see which attendees are booked in for either meetings or sessions at said location.
This can be found upon clicking into the location and underneath Location bookings.
Inputting a 'Location' into a meeting or session's details
If you're setting up a meeting or a session within Canapii & wish to provide detail around the location, you're firstly required to input the location details as per the above steps.
When creating either your Meeting or Session from within the console, you'll reach the option to select a Location (from your already, input list).
Select the location details accordingly.

Admins are also able to mass update locations via the actions button.
Tip: Adding location details for your meetings and sessions will be helpful for your attendees. When attendees click on the location of a meeting or session, they'll be able to see more details about the location.
Meeting location available times
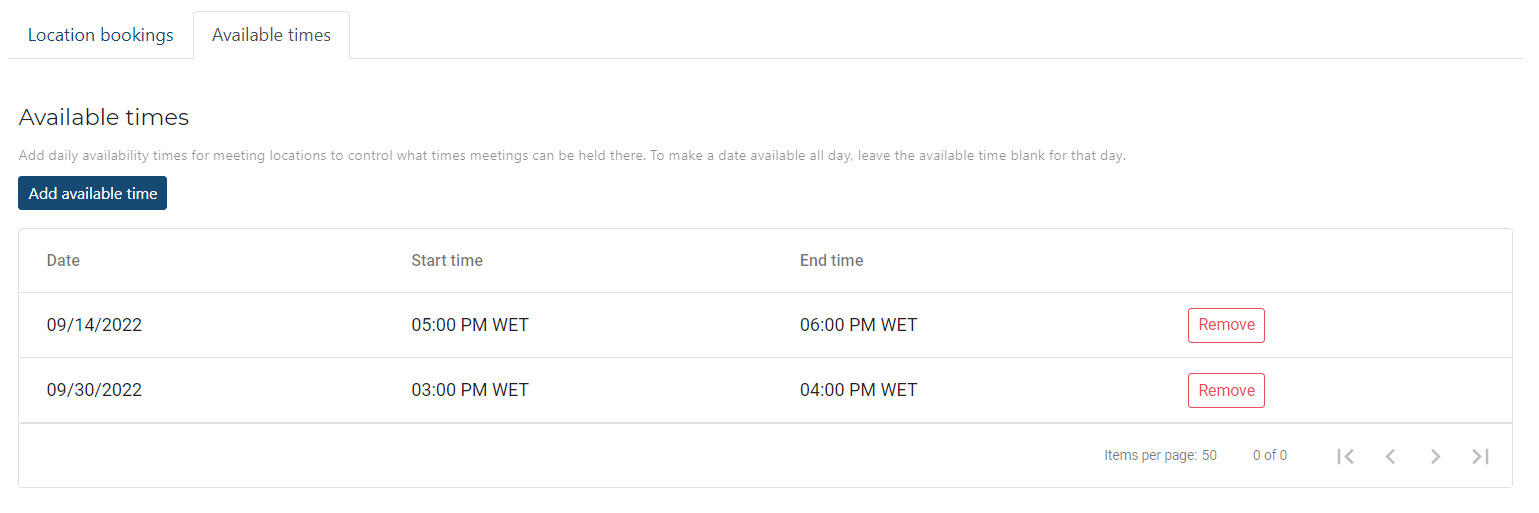
You can help control and set meetings scheduled in certain meeting locations. When a location is set to meetings, the event organizer can set open times of the location similar to session start and end times. The Event organizer can also set different availability times per event date and can have multiple availability times for a single day.
For example:
Event day 1, meeting location a can be open from 9-12 and 13:00-17:00. The event organizer will enter two entries of the same date and set the time. The system will make sure there is no overlap with itself.
Note: By default, unless an available time is plotted under meeting locations, this will be open all day.
Meeting locations workflow
To check out the feature, enable Locations in your hybrid event (reminder: you can do this in the General Settings page), then click into the tab and select Meeting location workflow.
To create a new meeting location workflow, you'll need to have at least one location saved - if you haven't created a location yet, please refer to the above steps.You'll see two sections on this page: "Set Default Location" and "Automatic assignment workflows."
In the first section, you can create a default location for unassigned future meetings by clicking the drop-down menu, choosing one of your locations, then clicking the blue Save button.

You can also use the automatic assignment workflow section to assign locations for meetings based on pre-set filters including the meeting settings for the attendee limit. For example: Perhaps your event Sponsors have sent representatives to your event, and they're working out of one specific meeting room - you can use this feature to automatically assign that room as the location for all of their meetings.
To do this, click the blue Create button in the Automatic assignment workflows box; this will open a modal. Give your workflow a name, then set the location that you're using.
Click the blue Update button in the Target attendees section. In the conditions operator that opens up, click Add filter and then set the Attendee type to 'Sponsors'. Save your changes, and you're all set! Meetings with sponsors will now automatically have that meeting room as their location.
Note: You have the ability to set an assignment workflow to inactive/active. The default state is active for new workflows.

