Speaker profiles help attendees get to know who’s on stage by highlighting their background, expertise, and the sessions they’re leading. Attendees can easily browse through these profiles in the Speakers tab.
Speaker profiles cannot be updated in the attendee-facing site; they can only be updated by an event administrator from the console.
Table of Contents #
Link the Speaker to Their Session(s)
Creating a Speaker Profile #
Speaker profiles can include a photo, bio, company URL, and social media profiles. Here are the different ways you can create a speaker profile:
OPTION 1: Convert an Attendee into a Speaker #
If your speaker is already registered as an attendee, you can easily turn their attendee profile into a speaker profile. Here are two ways to do it:
Via the Attendees Tab
-
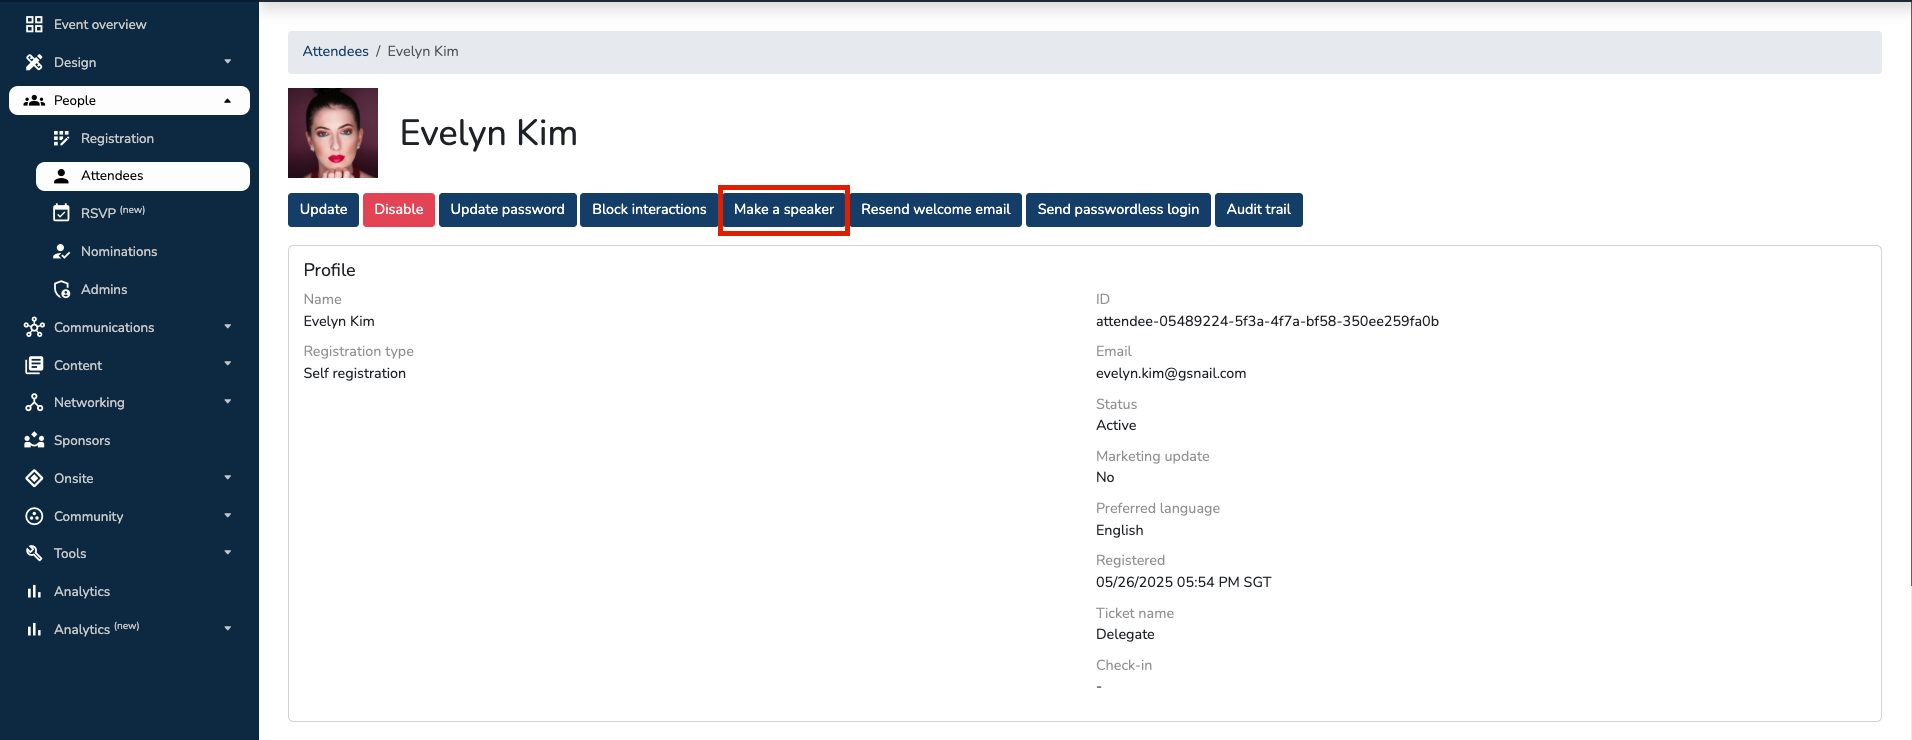
Go to the People tab and click Attendees.
-
Find and open the attendee profile of your speaker.
-
Click Make a Speaker at the top of their profile.
-
A pop-up will appear. Here, you can add additional details like the bio and speaker type.
-
Click Save.
Via the Speakers Tab
-
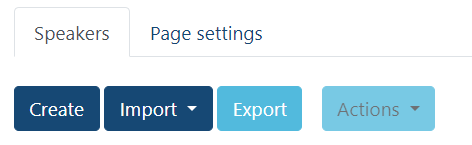
Go to the Content tab and click Speakers.
-
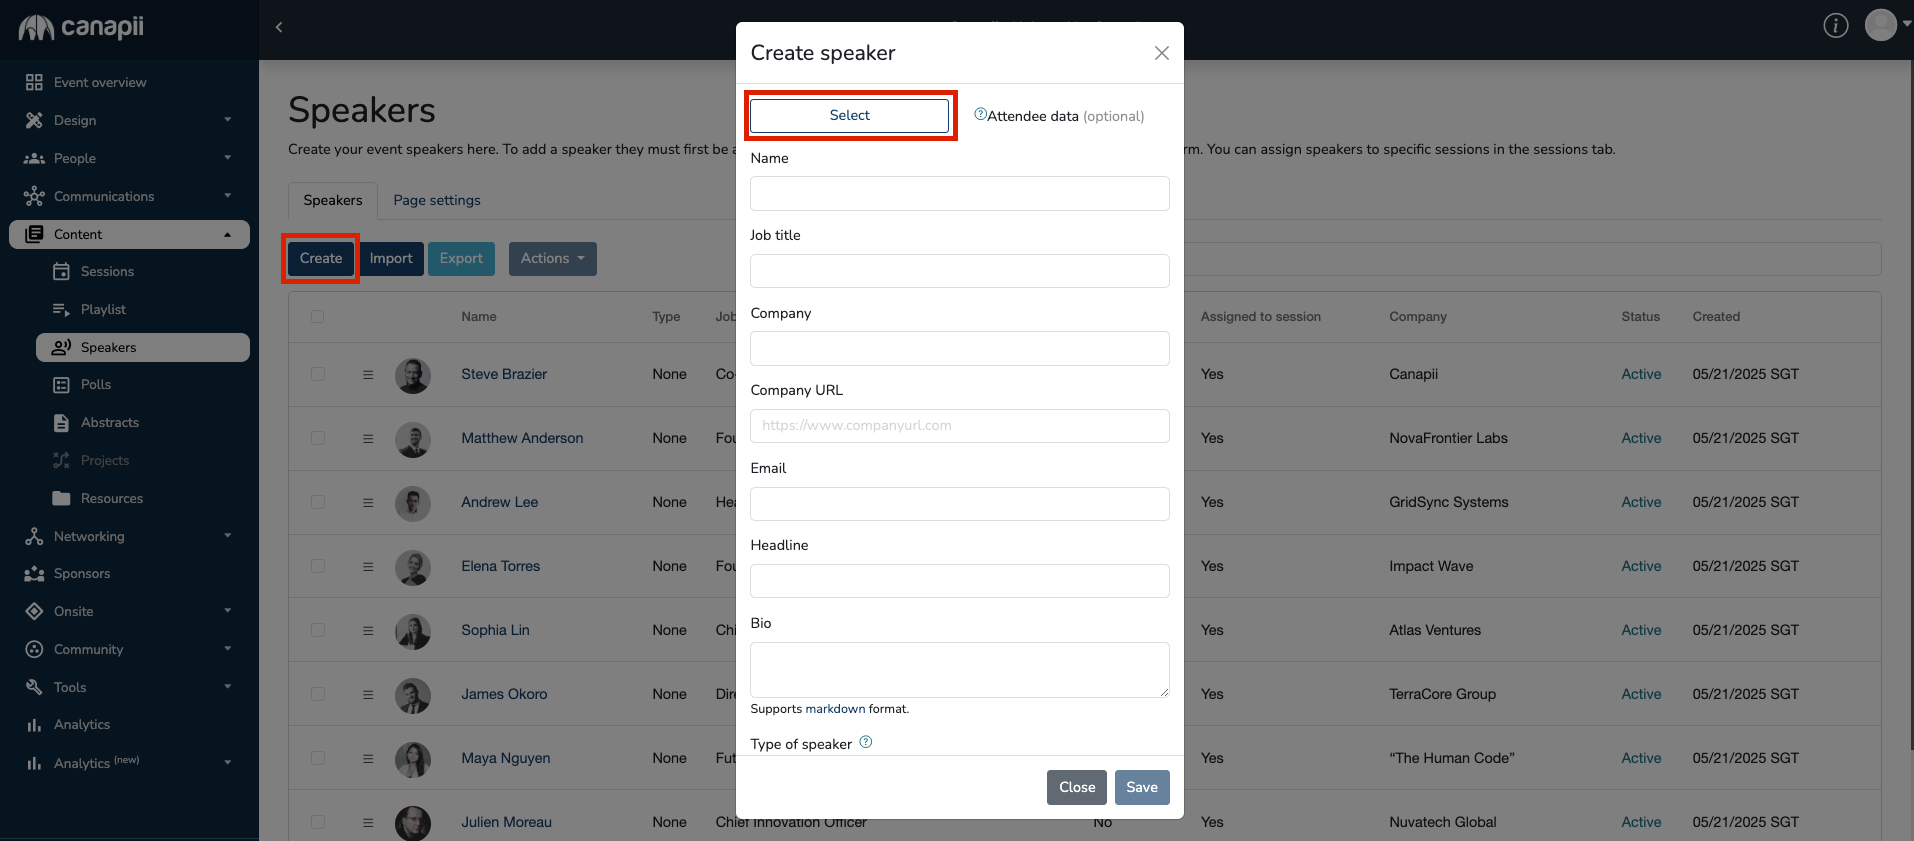
Click Create, then click Select to choose from your list of registered attendees.
-
Select the attendee’s name. A pop-up will appear, allowing you to add more speaker details (bio, speaker type, etc.).
-
Click Save.
When a speaker profile is created from a linked attendee account, the speaker’s name, profile photo, job title, and company will automatically be pulled from their attendee profile.
OPTION 2: Create a Speaker Profile Manually #
- Go to the Content tab and click Speakers.
- Click Create.
- Fill in the fields manually:
-
- Name
- Job Title
- Company
- Company URL
- Email Address
- Headline
- Bio: This field supports markdown formatting and can be used to introduce your speaker, share their background, outline their presentation topics, or include any other details you’d like attendees to know.
- Type of speaker: This enables you to categorize or tier your speakers. For example, you could have day 1, day 2 & day 3 speakers. Within each speaker’s profile, please ensure that the ‘Type‘ is spelt accurately and that letters are accurately capitalized for all. If this isn’t done correctly, the system won’t recognize them as being the same.
- Status: Make sure to set the speaker profile to Active. Inactive profiles won’t be visible to attendees.
- Show sessions on speaker page: If the speaker is associated with particular sessions, you have the option to either show or hide the sessions from their page.
- Show in speakers page: Set to Yes if you want the speaker’s profile to appear on the event’s dedicated Speakers page.
- Show in sponsor page: If the speaker is linked to a sponsor, choose Yes to display their profile within the sponsor’s zone. An event admin or sponsor admin can go to their sponsor zone and click the Speakers tab at the bottom of the page to add the speaker profile to their sponsor zone.
- You can also add a speaker’s social media links for X (formerly Twitter) and LinkedIn by pasting the URL into the appropriate field. Once added, clickable icons will appear on their profile, allowing attendees to easily connect and learn more about them.
- Select photo: Upload the speaker’s photo in JPG or PNG format.
- Target attendees: Organizers can target individual speakers so that they are only seen by certain attendees.
4. Complete all of the fields and select Save.
Link the Speaker to Their Session(s) #
You may want to add a speaker’s associated sessions to their profile so attendees can see what they’ll be presenting. There are two ways to assign a speaker to a session:
From the Session Details Page
-
After creating the session, open the session details and scroll down to the bottom.
-
Click the Speakers tab.
-
Click the Add Speaker and select the speaker from the list.
-
Click Submit.
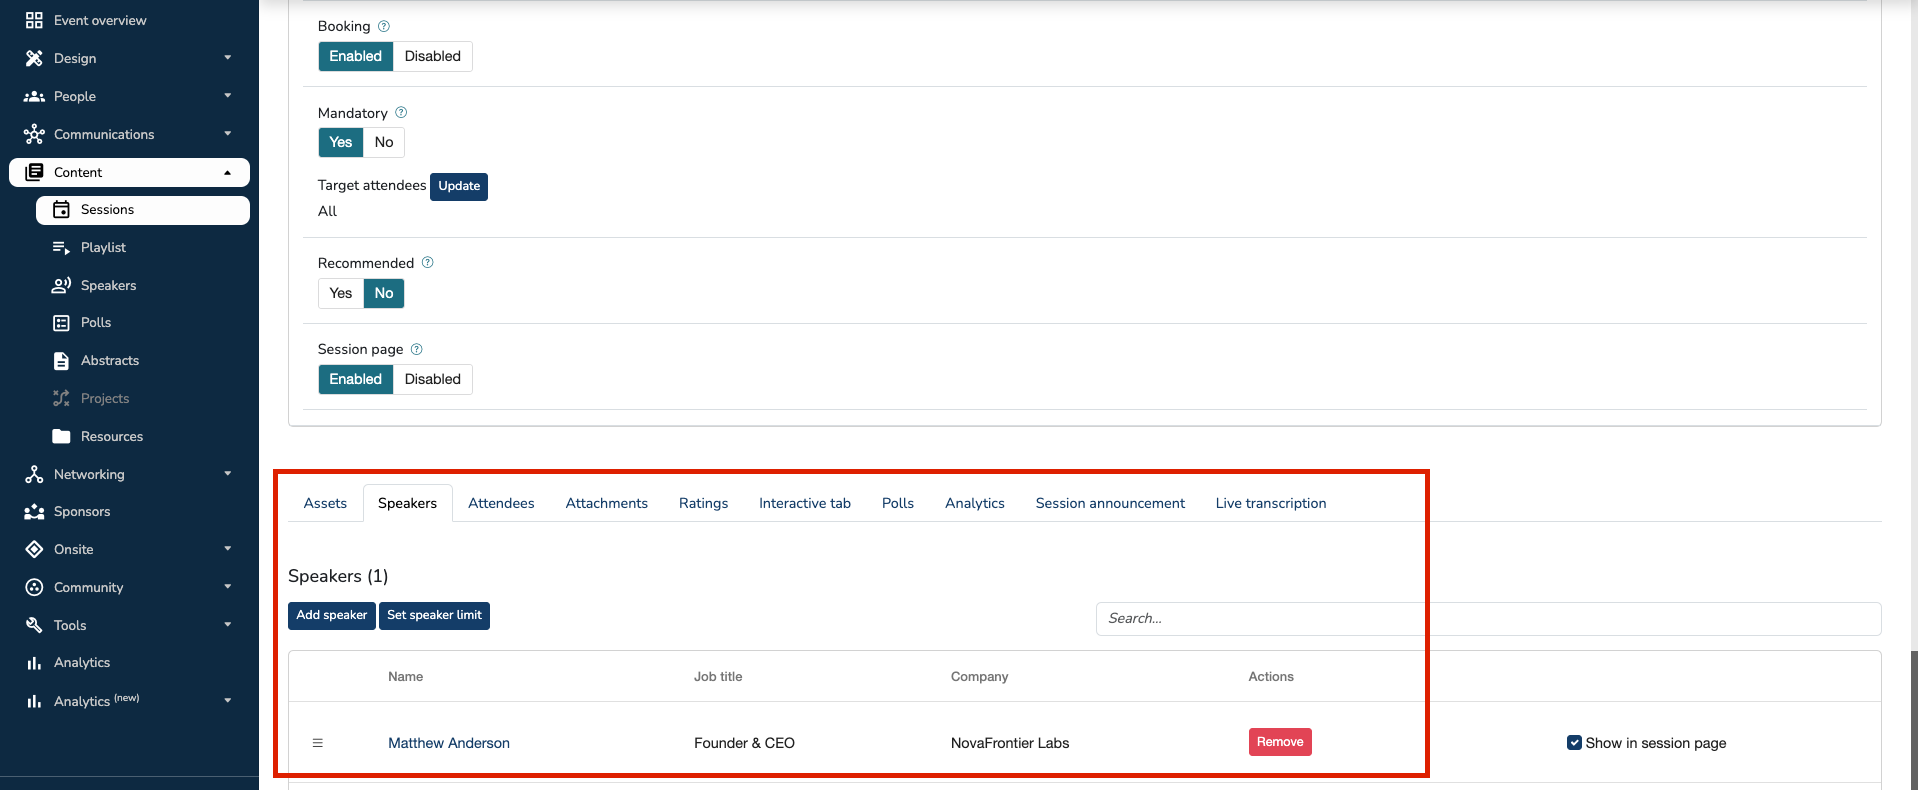
Make sure that the ‘Show in session page’ box is checked. This links their profile to the session AND displays a preview on both the session and the speaker’s page.
From the Speaker Profile
-
Go to the Content tab and click Speakers.
-
Open the speaker’s profile.
-
Scroll down to the Sessions section.
-
Click Add Session and select the relevant session/s.
-
Click Submit.
Important Settings to Update #
Click Page settings to open the edit modal. Here, you can:
-
Add or edit a banner, heading, and description.
-
Enabling the display speaker types toggle allows you to sort your speakers by their type. The speaker list is sorted by how they are placed on the list.

-
If your event has many speakers, your attendees can use display filters on the dedicated speakers page (i.e., Company, Country, Language) to browse profiles, read bios, and learn more about each speaker.

-
You can also customize your speakers’ layout on the dedicated Speakers page. There are two layout options to choose from:
- Thumbnail View:
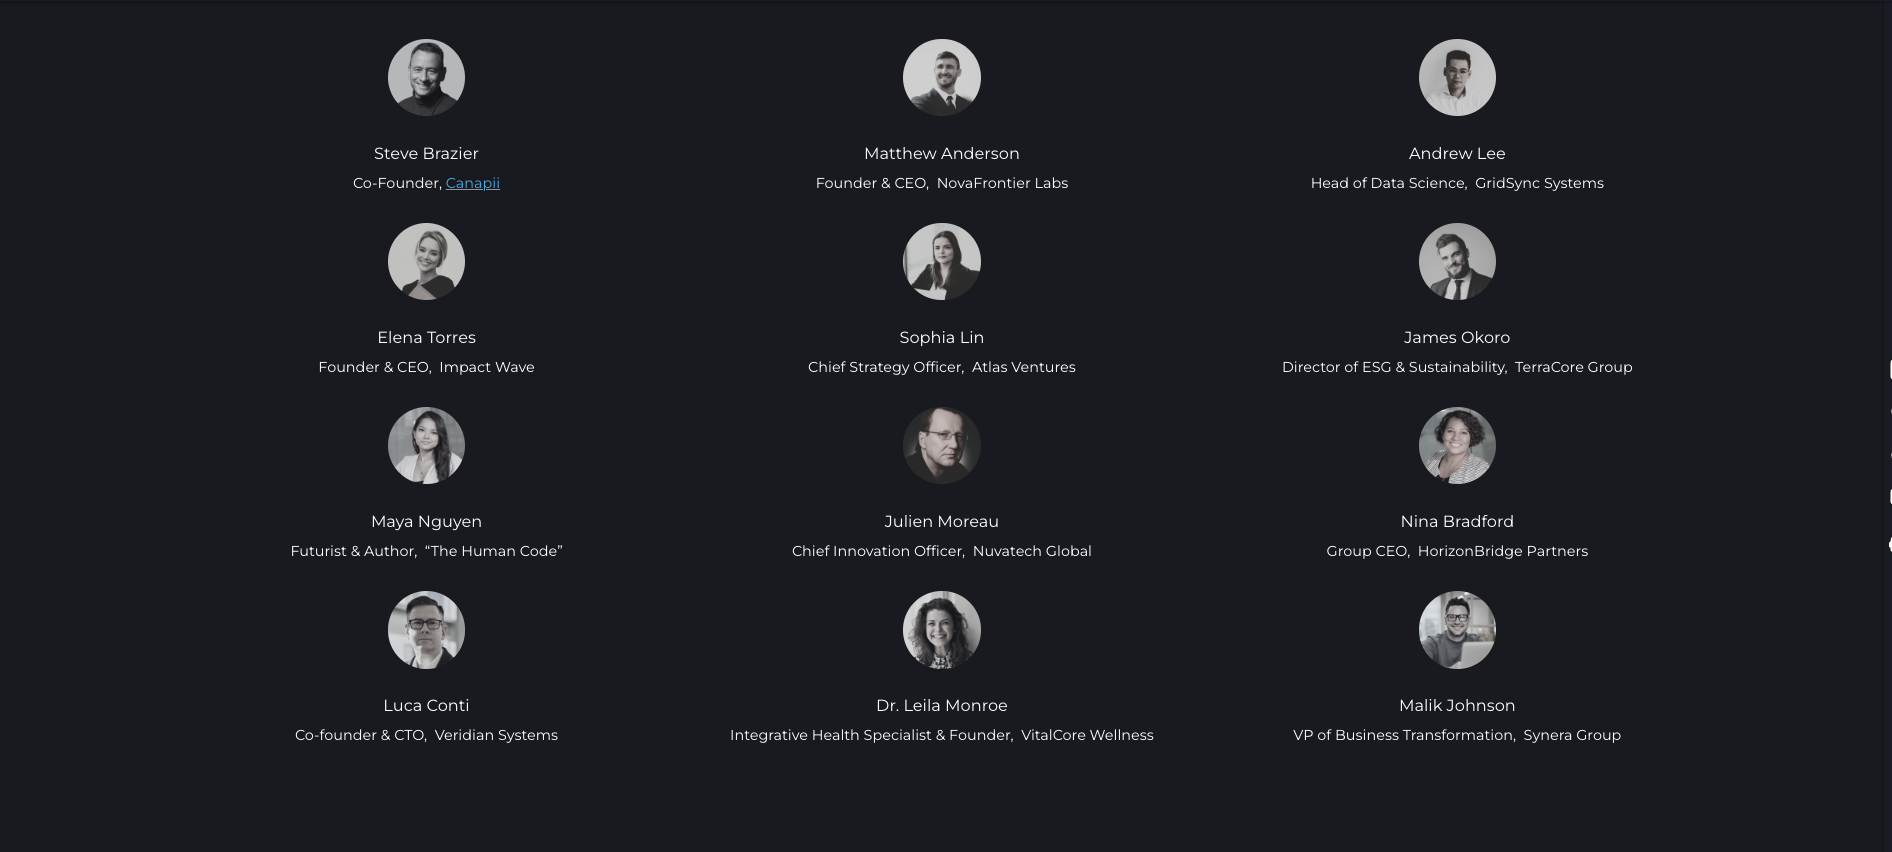
- Tile View:
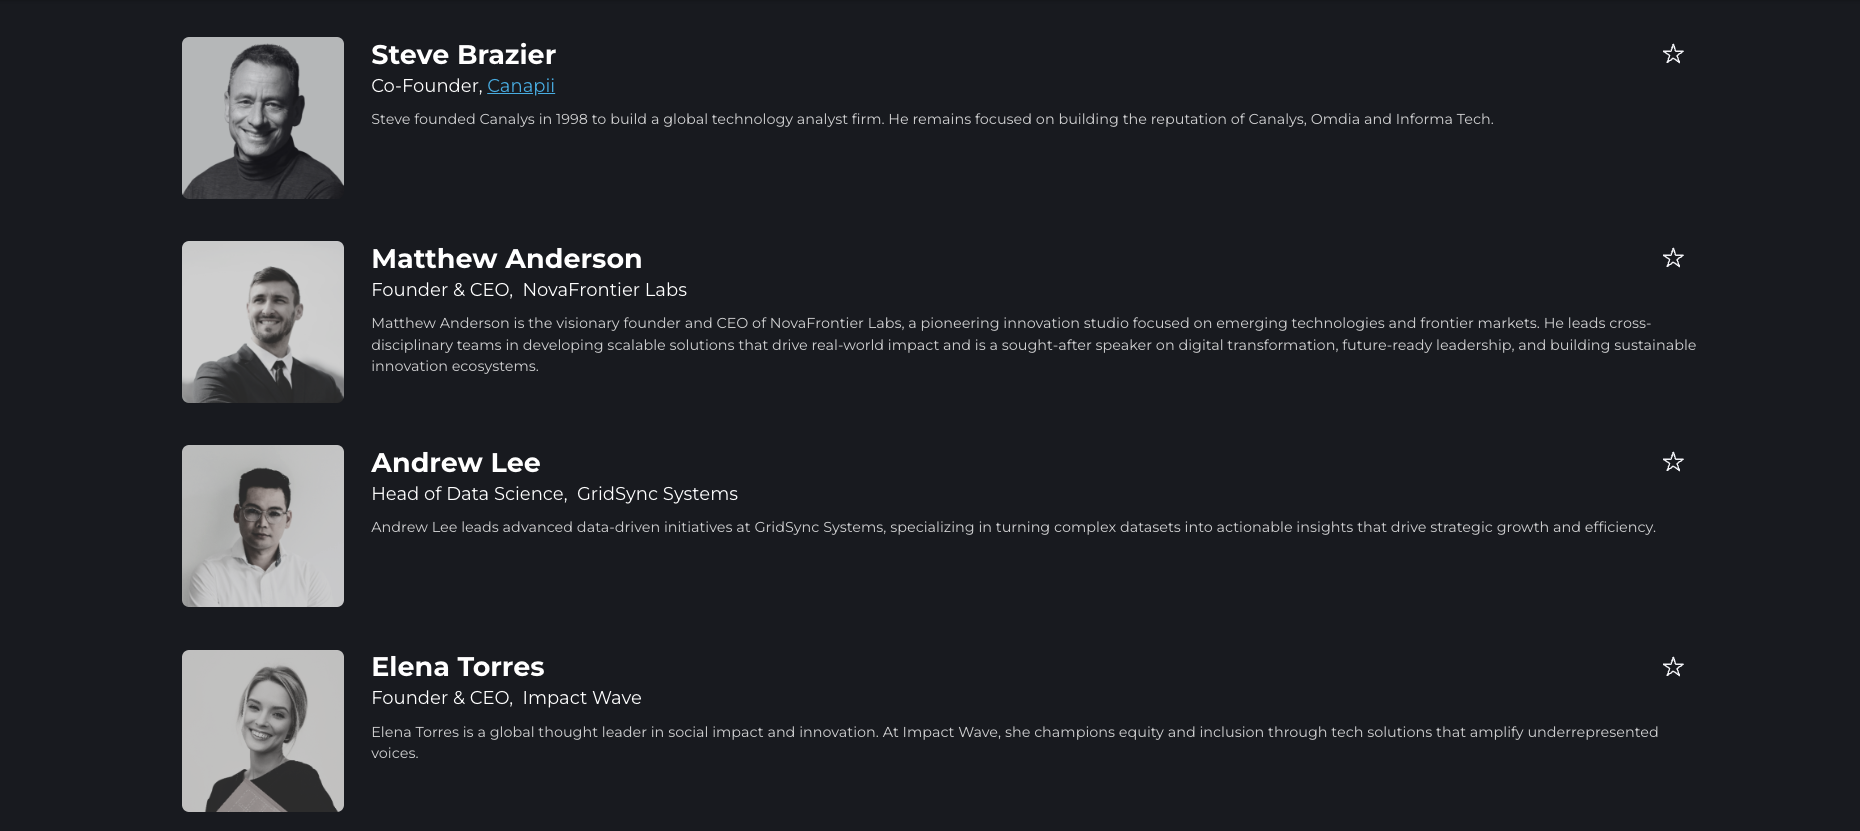
- Thumbnail View:
Tip: You can click the star icon on a speaker’s profile to add them to your favorites for quick access. Favorited speakers will appear under your “Favorites” section.
Exporting the Speakers List #
Organizers are able to export the speakers information. Clicking the export button downloads a CSV file of the speakers’ list data.